
Deploying a MERN (MongoDB, Express.js, React.js, Node.js) application on a DigitalOcean Droplet and setting up multiple domain names can be a smooth process with the right configuration. In this guide, we’ll walk through deploying a MERN app and configuring Nginx as a reverse proxy to serve multiple domains.
Step 1: Setting Up a DigitalOcean Droplet
- Create a Droplet on DigitalOcean with Ubuntu 20.04 or later.
- Connect via SSH:
ssh root@your_server_ip - Update and Upgrade Packages:
sudo apt update && sudo apt upgrade -y
Step 2: Install Node.js and MongoDB
- Install Node.js:
curl -fsSL https://deb.nodesource.com/setup_18.x | sudo -E bash - sudo apt install -y nodejs - Install MongoDB:
sudo apt install -y mongodb sudo systemctl start mongodb sudo systemctl enable mongodb - Verify Installations:
node -v mongo --version
Step 3: Deploy Your MERN Application
1. Clone Your MERN App from GitHub
Public Git Repository
cd /var/www
sudo git clone git@github.com:yourusername/your-mern-app.git
cd your-mern-app
Private Git Repository
sudo ssh-keygen
Select path (/root/.ssh/[id_name])
sudo cat /root/.ssh/[id_name].pub
Config
sudo nano /root/.ssh/config

#example
Host repo-name
Hostname github.com
User git
IdentityFile /root/.ssh/[id_name]

#Note - you have to duplicate the above for multiple repositories
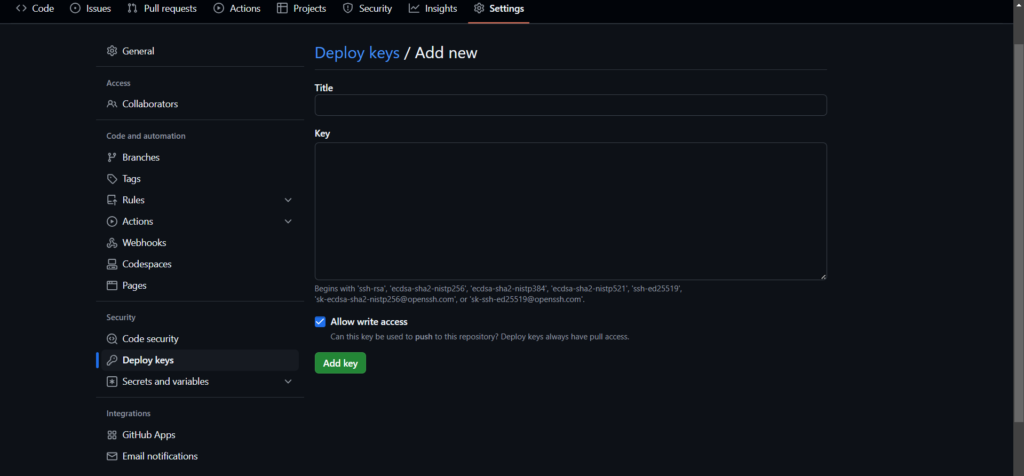
Paste the key in your github repo > settings > deploy keys
Now lets clone the git repo using ssh key
git clone git@github.com:github_username/repo-name.git
If you have multiple github repositories then do like this
GIT_SSH_COMMAND="ssh -i /root/.ssh/[id_name]" git clone git@github.com:your-github-username/repo-name.git
2. Install Dependencies
cd backend
npm install
cd ../frontend
npm install
3. Start Frontend & Backend Server
Installing pm2
sudo npm install -g pm2
cd backend

sudo pm2 start npm --name "backend" -- start
4. Start Frontend
cd frontend

sudo pm2 start npm --name "frontend" -- start
Step 4: Install and Configure Nginx
Install Nginx:
sudo apt install nginx -y
Create a New Nginx Configuration File:
sudo nano /etc/nginx/sites-available/mern-app
Add the following:
server {
    listen 80;
    server_name admin.yourdomain.com;
    location / {
        proxy_pass http://localhost:3000;
        proxy_http_version 1.1;
        proxy_set_header Upgrade $http_upgrade;
        proxy_set_header Connection 'upgrade';
        proxy_set_header Host $host;
        proxy_cache_bypass $http_upgrade;
    }
}

server {
    listen 80;
    server_name client.yourdomain.com;
    location / {
        proxy_pass http://localhost:4000;
        proxy_http_version 1.1;
        proxy_set_header Upgrade $http_upgrade;
        proxy_set_header Connection 'upgrade';
        proxy_set_header Host $host;
        proxy_cache_bypass $http_upgrade;
    }
}
Enable the Config and Restart Nginx:
sudo ln -s /etc/nginx/sites-available/mern-app /etc/nginx/sites-enabled/

sudo nginx -t  # Check for syntax errors

sudo systemctl restart nginx
Step 5: Configure DNS for Multiple Domains
- Go to your DNS provider (GoDaddy, Cloudflare, Namecheap, etc.).
- Create A records:
admin.yourdomain.com→your_droplet_IPclient.yourdomain.com→your_droplet_IP
- Save changes and wait for propagation (can take a few minutes).
Step 6: Secure with SSL (Optional but Recommended)
Install Certbot for free Let’s Encrypt SSL:
sudo apt install certbot python3-certbot-nginx -y
Run the SSL command:
sudo certbot --nginx -d admin.yourdomain.com -d client.yourdomain.com
Certbot will automatically configure Nginx for SSL.
Auto-Renew SSL:
sudo certbot renew --dry-run
Step 7: Verify Deployment
- Open a browser and go to:
https://admin.yourdomain.com→ Should serve backend/admin panel.https://client.yourdomain.com→ Should serve frontend/client.
- If everything works fine, your deployment is successful! 🚀
Conclusion
In this guide, we deployed a MERN application on DigitalOcean with multiple domain names using Nginx as a reverse proxy. We also set up SSL for security and DNS for domain routing.
Now your app is production-ready! Let me know if you need any modifications. 🚀


