Looking to showcase the color options of the iPhone SE on your website in a fun and interactive way? Consider building an “iPhone SE Colors Demonstration”. In this tutorial, we’ll show you step-by-step how to create this demonstration using HTML, CSS, and JavaScript. You’ll learn how to use HTML to create the structure of the demonstration, style it with CSS to give it a professional appearance, and use JavaScript to add interactivity and animation to the demonstration. Plus, you’ll gain valuable experience in using CSS and JavaScript to create dynamic and responsive designs. By the end of this tutorial, you’ll have a functional and visually stunning “iPhone SE Colors Demonstration” that you can use to showcase your skills and engage your website visitors. So, let’s get started on creating an impressive and interactive demonstration using HTML, CSS, and JavaScript!
Before we start here are 50 projects to create using HTML CSS and JavaScript –
I would recommend you don’t just copy and paste the code, just look at the code and type by understanding it.
Demo
HTML Code
Starter Template
<!doctype html>
<html lang="en">

<head>
    <!-- Required meta tags -->
    <meta charset="utf-8">
    <meta name="viewport" content="width=device-width, initial-scale=1">

    <!-- CSS -->
    <link rel="stylesheet" href="style.css">

   <!-- fontawesome  -->
    <link rel="stylesheet" href="https://use.fontawesome.com/releases/v5.3.1/css/all.css">

    <title>IPhone SE Colors Demonstration using HTML CSS and JavaScript - Coding Torque</title>
</head>

<body>
    <!-- Further code here -->


    <script src="https://code.jquery.com/jquery-3.6.3.js"
        integrity="sha256-nQLuAZGRRcILA+6dMBOvcRh5Pe310sBpanc6+QBmyVM=" crossorigin="anonymous">
    </script>


    <script src="script.js"></script>
</body>

</html>
Paste the below code in your <body> tag.
<div class="sticky-container">
<div class="iphone black">
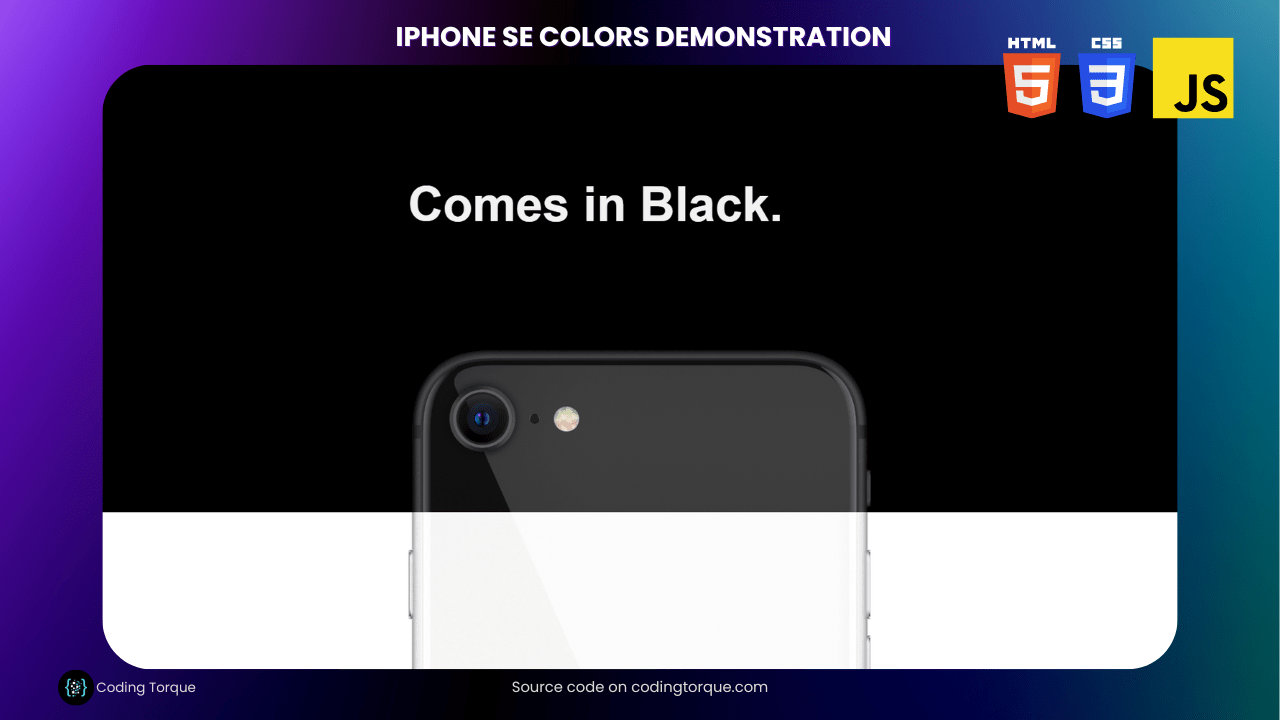
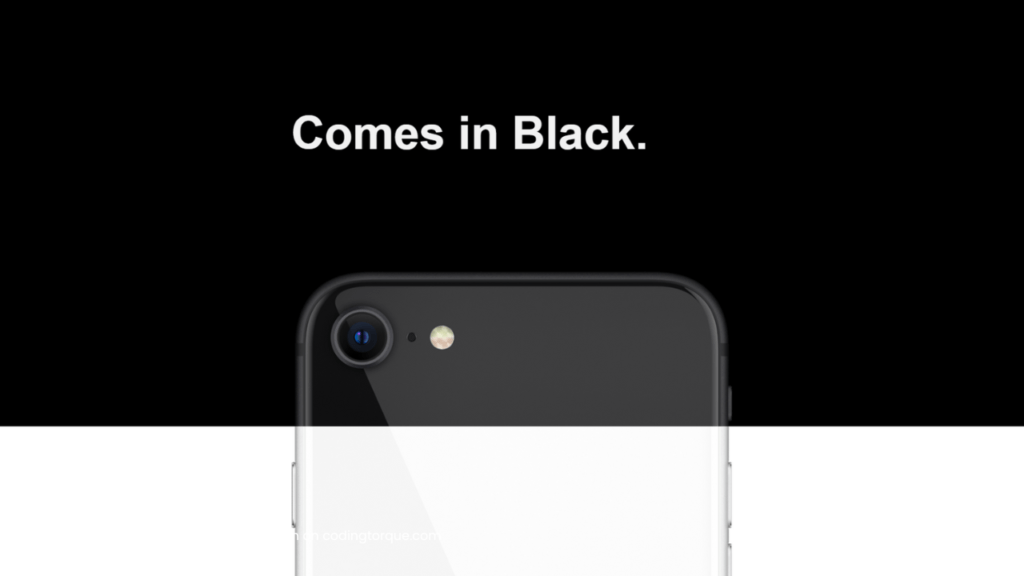
<h3>
Comes in Black.<br>
</h3>
<img src="https://www.apple.com/v/iphone-se/b/images/overview/finishes_black__b06syayq94wi_medium_2x.png">
</div>
<div class="iphone white">
<h3>
Comes in Black.<br>
<span>White</span>
</h3>
<img src="https://www.apple.com/v/iphone-se/b/images/overview/finishes_white__drv9fwq9vzwy_medium_2x.png">
</div>
<div class="iphone red">
<h3>
Comes in Black.<br>
White. <span>And Pow.</span>
</h3>
<img src="https://www.apple.com/v/iphone-se/b/images/overview/finishes_red__eqfv1ongy282_medium_2x.png">
</div>
</div>CSS Code
Create a file style.css and paste the code below.
html {
  font-size: 48px;

  --iphone-black-bg: #000;
  --iphone-black-text: #f2f2f2;

  --iphone-white-bg: #fff;
  --iphone-white-text: #8b8b99;
  --iphone-white-text-highlight: #1d1d1f;

  --iphone-red-bg: #960b19;
  --iphone-red-text: #e57571;
  --iphone-red-text-highlight: #f5f5f7;

  --iphone-width: 460px;
  --iphone-offscreen: -720px;
}

body {
  margin: 0;
  height: 4000px;
  font-family: Helvetica;
  background-color: #000;
}

.sticky-container {
  position: sticky;
  top: 0;
  width: 100%;
  height: 100vh;
  overflow: hidden;
}

.sticky-container .iphone {
  display: flex;
  flex-direction: column;
  justify-content: center;
  align-items: center;
  width: 100%;
  height: 100vh;
  position: absolute;
  top: 0;
  left: 0;
}

.sticky-container .iphone h3 {
  font-size: 1rem;
  margin: 0 0 60px 0;
  width: var(--iphone-width);
}

.sticky-container .iphone img {
  display: block;
  width: var(--iphone-width);
  margin-bottom: var(--iphone-offscreen);
}

.sticky-container .iphone.black {
  background-color: var(--iphone-black-bg);
  z-index: 10;
}

.sticky-container .iphone.black h3 {
  color: var(--iphone-black-text);
}

.sticky-container .iphone.white {
  background-color: var(--iphone-white-bg);
  z-index: 20;

  clip-path: inset(100% 0px 0px 0px);
}

.sticky-container .iphone.white h3 {
  color: var(--iphone-white-text);
}

.sticky-container .iphone.white h3 span {
  color: var(--iphone-white-text-highlight);
}

.sticky-container .iphone.red {
  background-color: var(--iphone-red-bg);
  z-index: 30;

  clip-path: inset(100% 0px 0px 0px);
}

.sticky-container .iphone.red h3 {
  color: var(--iphone-red-text);
}

.sticky-container .iphone.red h3 span {
  color: var(--iphone-red-text-highlight);
}

.sticky-container.no-sticky {
  position: relative;
  overflow: visible;
}

.sticky-container.no-sticky .iphone {
  position: relative;
}

.sticky-container.no-sticky .iphone.red {
  padding-bottom: calc(var(--iphone-offscreen) * -1);
}
JavaScript Code
Create a file script.js and paste the code below.
window.addEventListener('scroll', (e) => {
    let noStickyOffset = document.documentElement.clientHeight * 2
    let scrolled = document.documentElement.scrollTop / noStickyOffset

    let $white = document.querySelector('.white')
    let $red = document.querySelector('.red')

    $white.style.clipPath = `inset(${((0.5 - scrolled) / 0.5) * 100}% 0px 0px 0px)`
    $red.style.clipPath = `inset(${((1 - scrolled) / 0.5) * 100}% 0px 0px 0px)`

    if (scrolled >= 1) {
        document.querySelector('.sticky-container').classList.add('no-sticky')
    } else {
        document.querySelector('.sticky-container').classList.remove('no-sticky')
    }
})
Final Output
Written by: Piyush Patil
Code Credits: @stevenlei
If you found any mistakes or have any doubts please feel free to Contact Us
Hope you find this post helpful💖