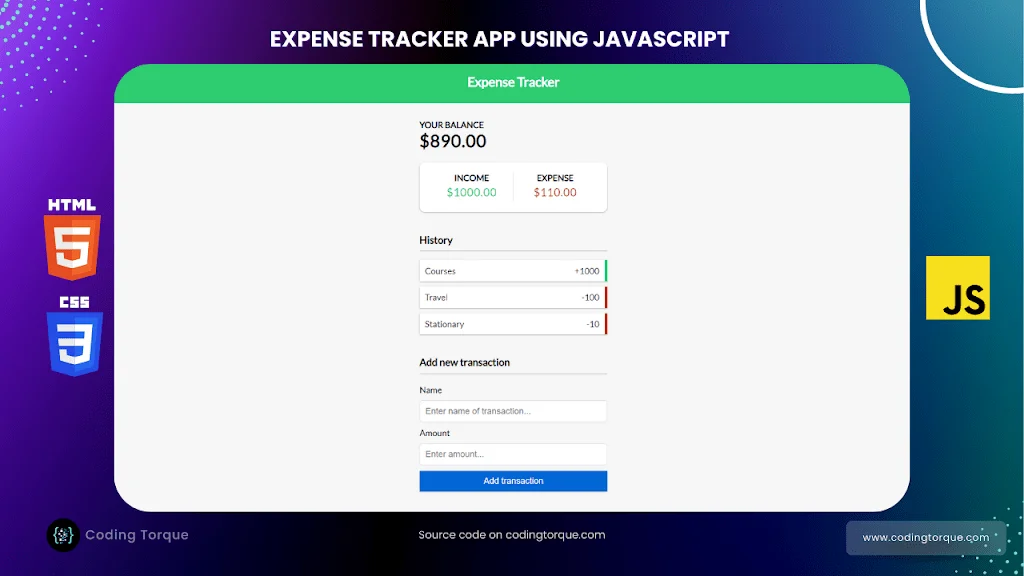
Welcome to Coding Torque! Are you ready to dive into the world of HTML, CSS, and JavaScript? In this tutorial, we will guide you through the process of building a fully-functional Expense Tracker App. Not only will you learn valuable coding skills, but you’ll also have a fun and practical tool to use in your daily life. Whether you’re a beginner or an experienced coder, this project is sure to challenge and engage you. So let’s get started!
Before we start, here are some JavaScript Games you might like to create:
1. Snake Game using JavaScript
2. 2D Bouncing Ball Game using JavaScript
3. Rock Paper Scissor Game using JavaScript
4. Tic Tac Toe Game using JavaScript
5. Whack a Mole Game using JavaScript
I would recommend you don’t just copy and paste the code, just look at the code and type by understanding it.
HTML Code
Starter Template
<!doctype html>
<html lang="en">

<head>
    <!-- Required meta tags -->
    <meta charset="utf-8">
    <meta name="viewport" content="width=device-width, initial-scale=1">

    <!-- CSS -->
    <link rel="stylesheet" href="style.css">

    <title>Expense Tracker using JavaScript - @code.scientist x @codingtorque</title>
</head>

<body>
    <!-- Further code here -->

    <script src="script.js"></script>
</body>

</html>
Paste the below code in your <body> tag
<header>
    <h2>Expense Tracker</h2>
</header>

<div class="container">
    <h4>Your Balance</h4>
    <h1 id="balance">$0.00</h1>

    <div class="inc-exp-container">
        <div>
            <h4>Income</h4>
            <p id="money-plus" class="money plus">+$0.00</p>
        </div>
        <div>
            <h4>Expense</h4>
            <p id="money-minus" class="money minus">-$0.00</p>
        </div>
    </div>

    <h3>History</h3>
    <ul id="list" class="list">
        <!-- List of income and expense  -->
    </ul>

    <h3>Add new transaction</h3>
    <form id="form">
        <div class="form-control">
            <label for="text">Name</label>
            <input type="text" id="text" placeholder="Enter name of transaction..." />
        </div>
        <div class="form-control">
            <label for="amount">Amount <br />
            </label>
            <input type="number" id="amount" placeholder="Enter amount..." />
        </div>
        <button class="btn">Add transaction</button>
    </form>
</div>
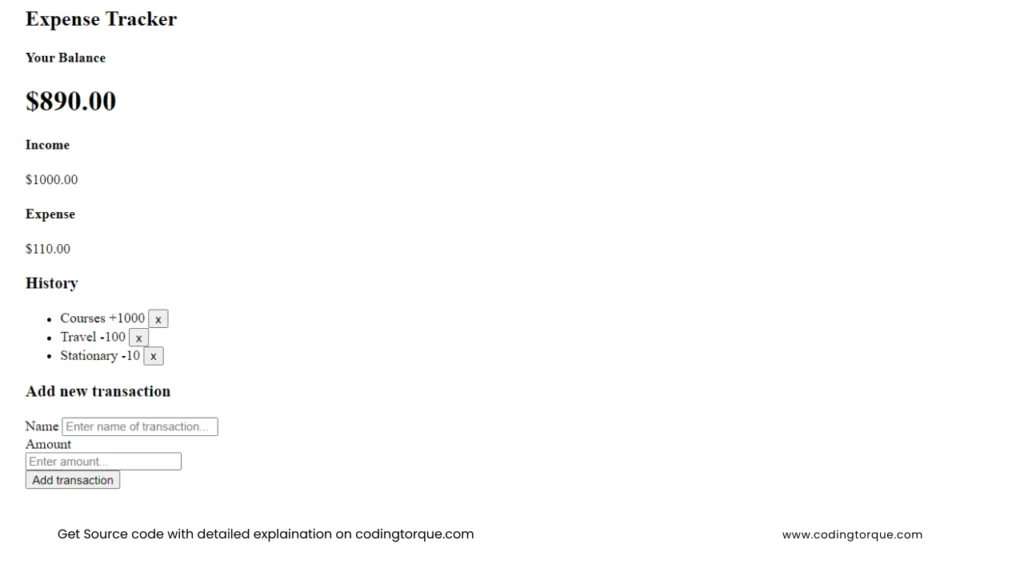
Output Till Now
CSS Code
Create a file style.css and paste the code below.
@import url('https://fonts.googleapis.com/css?family=Lato&display=swap');

:root {
  --box-shadow: 0 1px 3px rgba(0, 0, 0, 0.12), 0 1px 2px rgba(0, 0, 0, 0.24);
}

* {
  box-sizing: border-box;
}

body {
  background-color: #f7f7f7;
  display: flex;
  flex-direction: column;
  align-items: center;
  justify-content: center;
  min-height: 100vh;
  margin: 0;
  font-family: 'Lato', sans-serif;
}

header {
  background-color: #2ecc71;
  color: #FFFFFF;
  text-align: center;
  height: 75px;
  width: 100%;
}

.container {
  margin: 30px auto;
  width: 350px;
}

h1 {
  letter-spacing: 1px;
  margin: 0;
}

h3 {
  border-bottom: 1px solid #bbb;
  padding-bottom: 10px;
  margin: 40px 0 10px;
}

h4 {
  margin: 0;
  text-transform: uppercase;
}

.inc-exp-container {
  background-color: #fff;
  border-radius: 10px;
  box-shadow: var(--box-shadow);
  padding: 20px;
  display: flex;
  justify-content: space-between;
  margin: 20px 0;
}

.inc-exp-container > div {
  flex: 1;
  text-align: center;
}

.inc-exp-container > div:first-of-type {
  border-right: 1px solid #dedede;
}

.money {
  font-size: 20px;
  letter-spacing: 1px;
  margin: 5px 0;
}

.money.plus {
  color: #2ecc71;
}

.money.minus {
  color: #c0392b;
}

label {
  display: inline-block;
  margin: 10px 0;
}

input[type='text'],
input[type='number'] {
  border: 1px solid #dedede;
  border-radius: 5px;
  display: block;
  font-size: 16px;
  padding: 10px;
  width: 100%;
}

.btn {
  cursor: pointer;
  background-color: #0366D6;
  box-shadow: var(--box-shadow);
  color: #fff;
  border: 0;
  display: block;
  font-size: 16px;
  margin: 10px 0 30px;
  padding: 10px;
  width: 100%;
}

.btn:focus,
.delete-btn:focus {
  outline: 0;
}

.list {
  list-style-type: none;
  padding: 0;
  margin-bottom: 40px;
}

.list li {
  background-color: #fff;
  box-shadow: var(--box-shadow);
  color: #333;
  display: flex;
  justify-content: space-between;
  position: relative;
  padding: 10px;
  margin: 10px 0;
}

.list li.plus {
  border-right: 5px solid #2ecc71;
}

.list li.minus {
  border-right: 5px solid #c0392b;
}

.delete-btn {
  cursor: pointer;
  background-color: #e74c3c;
  border: 0;
  color: #fff;
  font-size: 20px;
  line-height: 20px;
  padding: 2px 5px;
  position: absolute;
  top: 50%;
  left: 0;
  transform: translate(-100%, -50%);
  opacity: 0;
  transition: opacity 0.3s ease;
}

.list li:hover .delete-btn {
  opacity: 1;
}
Output Till Now

JavaScript Code
script.js and paste the code below.const balance = document.getElementById('balance');
const money_plus = document.getElementById('money-plus');
const money_minus = document.getElementById('money-minus');
const list = document.getElementById('list');
const form = document.getElementById('form');
const text = document.getElementById('text');
const amount = document.getElementById('amount');
const localStorageTransactions = JSON.parse(
localStorage.getItem('transactions')
);
let transactions =
localStorage.getItem('transactions') !== null ? localStorageTransactions : [];
// Add transaction
function addTransaction(e) {
e.preventDefault();
if (text.value.trim() === '' || amount.value.trim() === '') {
alert('Please add a text and amount');
} else {
const transaction = {
id: generateID(),
text: text.value,
amount: +amount.value
};
transactions.push(transaction);
addTransactionDOM(transaction);
updateValues();
updateLocalStorage();
text.value = '';
amount.value = '';
}
}
// Generate random ID
function generateID() {
return Math.floor(Math.random() * 100000000);
}
// Add transactions to DOM list
function addTransactionDOM(transaction) {
// Get sign
const sign = transaction.amount < 0 ? '-' : '+';
const item = document.createElement('li');
// Add class based on value
item.classList.add(transaction.amount < 0 ? 'minus' : 'plus');
item.innerHTML = `
${transaction.text} <span>${sign}${Math.abs(
transaction.amount
)}</span> <button class="delete-btn" onclick="removeTransaction(${transaction.id
})">x</button>
`;
list.appendChild(item);
}
// Update the balance, income and expense
function updateValues() {
const amounts = transactions.map(transaction => transaction.amount);
const total = amounts.reduce((acc, item) => (acc += item), 0).toFixed(2);
const income = amounts
.filter(item => item > 0)
.reduce((acc, item) => (acc += item), 0)
.toFixed(2);
const expense = (
amounts.filter(item => item < 0).reduce((acc, item) => (acc += item), 0) *
-1
).toFixed(2);
balance.innerText = `$${total}`;
money_plus.innerText = `$${income}`;
money_minus.innerText = `$${expense}`;
}
// Remove transaction by ID
function removeTransaction(id) {
transactions = transactions.filter(transaction => transaction.id !== id);
updateLocalStorage();
init();
}
// Update local storage transactions
function updateLocalStorage() {
localStorage.setItem('transactions', JSON.stringify(transactions));
}
// Init app
function init() {
list.innerHTML = '';
transactions.forEach(addTransactionDOM);
updateValues();
}
init();
form.addEventListener('submit', addTransaction);