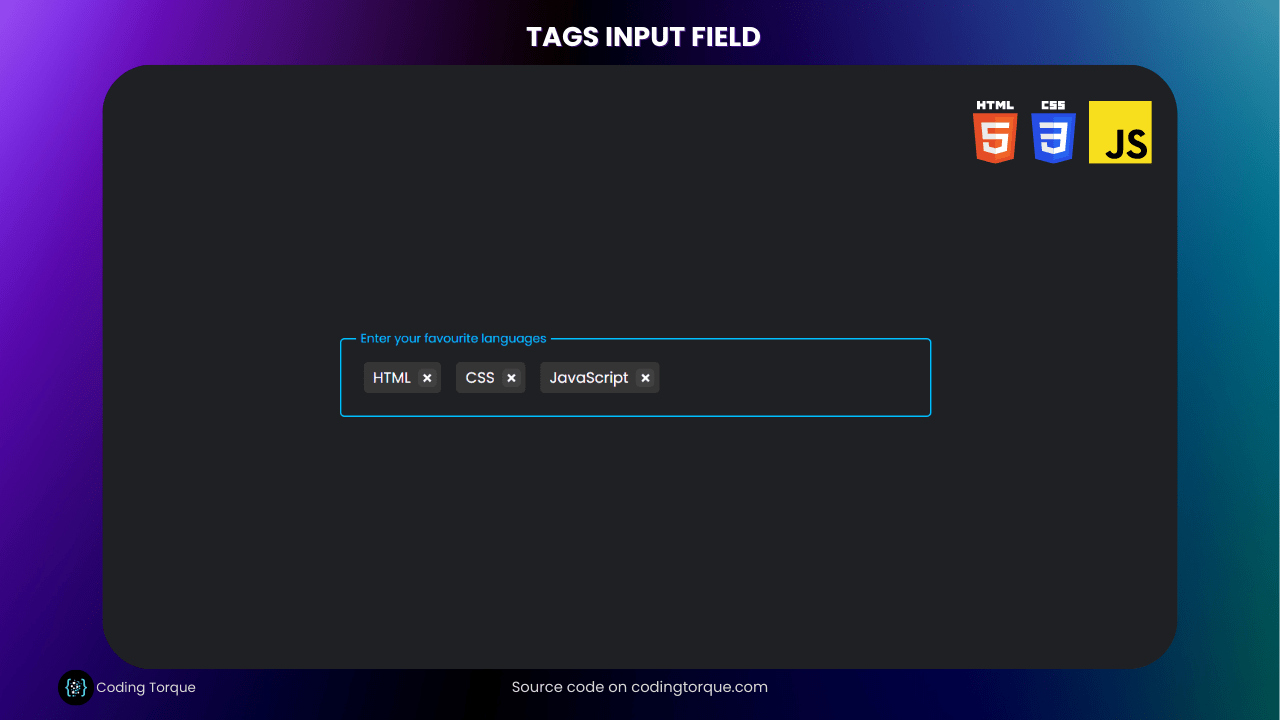
Hello there, fellow coders! Are you ready to learn how to create a dynamic and user-friendly tags input box using the power of HTML, CSS, and JavaScript? In this tutorial, we will walk you through the process of creating a highly customizable and responsive tags input box that can enhance the user experience of your website or application. With our step-by-step instructions, you will gain a deeper understanding of HTML form elements, CSS styling, and JavaScript event handling. So, let’s get started and take your web development skills to the next level!
- Deploying a MERN App with Multiple Domain Names on VPS
- 3D CSS Logo with Pure CSS
- 3D Santa using HTML and CSS Only
- Crafting a 3D Police Squad Car with Pure CSS
- Crafting a 3D Printer with HTML and Pure CSS
I would recommend you don’t just copy and paste the code, just look at the code and type by understanding it.
HTML Code
Starter Template
<!doctype html>
<html lang="en">

<head>
    <!-- Required meta tags -->
    <meta charset="utf-8">
    <meta name="viewport" content="width=device-width, initial-scale=1">

    <!-- CSS -->
    <link rel="stylesheet" href="style.css">

    <title>Tags input using HTML, CSS and JavaScript - Coding Torque</title>
</head>

<body>
    <!-- Further code here -->

    <script src="script.js"></script>
</body>

</html>
Paste the below code in your <body> tag.
<div class="tag-area">
    <label for="tag-input" class="label">Enter your favourite languages</label>
    <ul>
        <input type="text" class="tag-input" id="tag-input" />
    </ul>
</div>
Output Till Now
CSS Code
Create a file style.css and paste the code below.
@import url("https://fonts.googleapis.com/css2?family=Poppins:wght@400;500;600;700&display=swap");

body {
  margin: 0;
  font-family: "Poppins", Arial, Helvetica, sans-serif;
  background: #1f2023;
  display: flex;
  flex-direction: column;
  justify-content: center;
  align-items: center;
  color: #fff;
  height: 100vh;
}

ul {
  margin-block-start: 0;
  margin-block-end: 0;
  padding-inline-start: 0px;
}

li {
  list-style: none;
}

.tag-area {
  padding: 1rem;
  outline: none;
  width: 600px;
  border: 2px solid #605f6f;
  border-radius: 5px;
  transition: all 0.2s;
  cursor: text;
  display: flex;
  align-items: center;
  position: relative;
}

.label {
  position: absolute;
  background: #1f2023;
  padding: 0 0.3rem;
  color: #adadad;
  top: 22px;
  transition: all 0.1s;
}

.label-active {
  top: -11px;
  color: deepskyblue;
  font-size: 13px;
}

.tag-area ul {
  display: flex;
  flex-wrap: wrap;
  align-items: center;
}

.active {
  border: 2px solid deepskyblue !important;
}

.tag {
  padding: 5px;
  padding-left: 10px;
  background: #353535;
  border-radius: 5px;
  display: flex;
  align-items: center;
  justify-content: space-between;
  margin: 0.5rem;
}

.tag-input {
  padding: 0.5rem;
  outline: none;
  border: none;
  width: 150px;
  margin-left: 0.5rem;
  background: transparent;
  font-size: 20px;
  color: #fff;
}

.cross {
  cursor: pointer;
  display: flex;
  margin-left: 0.5rem;
  justify-content: center;
  align-items: center;
  padding: 10px;
  border-radius: 5px;
  background: #414141;
}

.cross:hover {
  background: #818181b1;
}

.cross::before {
  content: "";
  width: 2px;
  height: 10px;
  position: absolute;
  background: rgb(255, 255, 255);
  transform: rotate(45deg);
}

.cross::after {
  content: "";
  height: 2px;
  width: 10px;
  position: absolute;
  background: rgb(255, 255, 255);
  transform: rotate(45deg);
}

@media (max-width: 650px) {
  .tag-area {
    width: 300px;
  }
}
Output Till Now

JavaScript Code
Create a file script.js and paste the code below.
const tagInput = document.querySelector(".tag-input");
const tagArea = document.querySelector(".tag-area");
const ul = document.querySelector(".tag-area ul");
const label = document.querySelector(".label");

let tags = [];

function addEvent(element) {
    tagArea.addEventListener("click", () => {
        element.focus();
    });

    element.addEventListener("focus", () => {
        tagArea.classList.add("active");
        label.classList.add("label-active");
    });

    element.addEventListener("blur", (e) => {
        tagArea.classList.remove("active");
        if (element.value === "" && tags.length === 0) {
            label.classList.remove("label-active");
        }
        if (!element.value.match(/^\s+$/gi) && element.value !== "") {
            tags.push(e.target.value.trim());
            element.value = "";
            renderTags();
        }
    });

    element.addEventListener("keydown", (e) => {
        console.log(e);
        const value = e.target.value;
        if (
            (e.keyCode === 32 ||
                e.keyCode === 13 ||
                value[value.length - 1] === " ") &&
            !value.match(/^\s+$/gi) &&
            value !== ""
        ) {
            tags.push(e.target.value.trim());
            element.value = "";
            renderTags();
        }
        if (e.keyCode === 8 && value === "") {
            tags.pop();
            renderTags();
        }
    });
}
addEvent(tagInput);

function renderTags() {
    ul.innerHTML = "";
    tags.forEach((tag, index) => {
        createTag(tag, index);
    });
    const input = document.createElement("input");
    input.type = "text";
    input.className = "tag-input";
    addEvent(input);
    ul.appendChild(input);
    input.focus();
    setTimeout(() => (input.value = ""), 0);
}

function createTag(tag, index) {
    const li = document.createElement("li");
    li.className = "tag";
    const text = document.createTextNode(tag);
    const span = document.createElement("span");
    span.className = "cross";
    span.dataset.index = index;
    span.addEventListener("click", (e) => {
        tags = tags.filter((_, index) => index != e.target.dataset.index);
        renderTags();
    });
    li.appendChild(text);
    li.appendChild(span);
    ul.appendChild(li);
}
Written by: Piyush Patil
If you have any doubts or any project ideas feel free to Contact Us
Hope you find this post helpful💖