Before we start, here are some cards you might like to create:
- Filter Cards using JavaScript
- Animated Product Card using JavaScript
- Profile Cards Hover Effect using HTML & CSS
I would recommend you don’t just copy and paste the code, just look at the code and type by understanding it.
HTML Code
Starter Template
<!doctype html>
<html lang="en">

<head>
    <!-- Required meta tags -->
    <meta charset="utf-8">
    <meta name="viewport" content="width=device-width, initial-scale=1">

    <!-- Font Awesome CDN  -->
    <link rel="stylesheet" href="https://cdnjs.cloudflare.com/ajax/libs/font-awesome/5.14.0/css/all.min.css"
        integrity="sha512-1PKOgIY59xJ8Co8+NE6FZ+LOAZKjy+KY8iq0G4B3CyeY6wYHN3yt9PW0XpSriVlkMXe40PTKnXrLnZ9+fkDaog=="
        crossorigin="anonymous" />

    <!-- CSS -->
    <link rel="stylesheet" href="style.css">

    <title>Simple Article Cards - Coding Torque</title>
</head>

<body>
    <!-- Further code here -->
</body>

</html>
Paste the below code in your <body> tag.
<div class="container">
<div class="card">
<div class="card-header">
<img src="https://c0.wallpaperflare.com/preview/483/210/436/car-green-4x4-jeep.jpg" alt="rover" />
</div>
<div class="card-body">
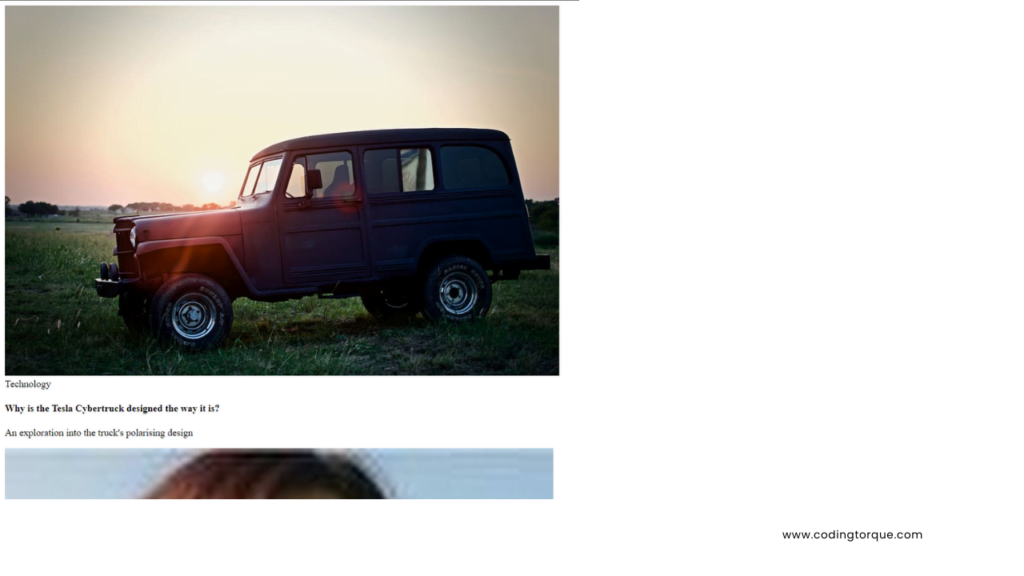
<span class="tag tag-teal">Technology</span>
<h4>
Why is the Tesla Cybertruck designed the way it
is?
</h4>
<p>
An exploration into the truck's polarising design
</p>
<div class="user">
<img src="https://yt3.ggpht.com/a/AGF-l7-0J1G0Ue0mcZMw-99kMeVuBmRxiPjyvIYONg=s900-c-k-c0xffffffff-no-rj-mo"
alt="user" />
<div class="user-info">
<h5>July Dec</h5>
<small>2h ago</small>
</div>
</div>
</div>
</div>
<div class="card">
<div class="card-header">
<img src="https://www.newsbtc.com/wp-content/uploads/2020/06/mesut-kaya-LcCdl__-kO0-unsplash-scaled.jpg"
alt="ballons" />
</div>
<div class="card-body">
<span class="tag tag-purple">Popular</span>
<h4>
How to Keep Going When You Don’t Know What’s Next
</h4>
<p>
The future can be scary, but there are ways to
deal with that fear.
</p>
<div class="user">
<img src="https://lh3.googleusercontent.com/ogw/ADGmqu8sn9zF15pW59JIYiLgx3PQ3EyZLFp5Zqao906l=s32-c-mo"
alt="user" />
<div class="user-info">
<h5>Eyup Ucmaz</h5>
<small>Yesterday</small>
</div>
</div>
</div>
</div>
<div class="card">
<div class="card-header">
<img src="https://images6.alphacoders.com/312/thumb-1920-312773.jpg" alt="city" />
</div>
<div class="card-body">
<span class="tag tag-pink">Design</span>
<h4>
10 Rules of Dashboard Design
</h4>
<p>
Dashboard Design Guidelines
</p>
<div class="user">
<img src="https://studyinbaltics.ee/wp-content/uploads/2020/03/3799Ffxy.jpg" alt="user" />
<div class="user-info">
<h5>Carrie Brewer</h5>
<small>1w ago</small>
</div>
</div>
</div>
</div>
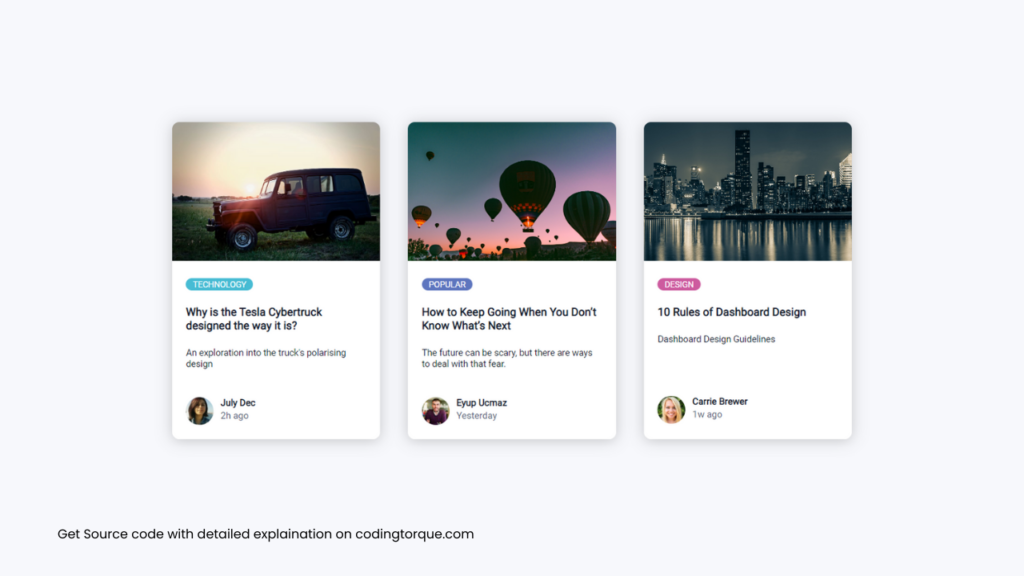
</div>Output Till Now
CSS Code
Create a file style.css and paste the code below.
@import url("https://fonts.googleapis.com/css2?family=Roboto&display=swap");

* {
  box-sizing: border-box;
}

body {
  display: flex;
  justify-content: center;
  align-items: center;
  padding-top: 10rem;
  background-color: #f7f8fc;
  font-family: "Roboto", sans-serif;
  color: #10182f;
}

.container {
  display: flex;
  width: 1040px;
  justify-content: space-evenly;
  flex-wrap: wrap;
}

.card {
  margin: 10px;
  background-color: #fff;
  border-radius: 10px;
  box-shadow: 0 2px 20px rgba(0, 0, 0, 0.2);
  overflow: hidden;
  width: 300px;
}

.card-header img {
  width: 100%;
  height: 200px;
  object-fit: cover;
}

.card-body {
  display: flex;
  flex-direction: column;
  justify-content: center;
  align-items: flex-start;
  padding: 20px;
  min-height: 250px;
}

.tag {
  background: #cccccc;
  border-radius: 50px;
  font-size: 12px;
  margin: 0;
  color: #fff;
  padding: 2px 10px;
  text-transform: uppercase;
  cursor: pointer;
}

.tag-teal {
  background-color: #47bcd4;
}

.tag-purple {
  background-color: #5e76bf;
}

.tag-pink {
  background-color: #cd5b9f;
}

.card-body p {
  font-size: 13px;
  margin: 0 0 40px;
}

.user {
  display: flex;
  margin-top: auto;
}

.user img {
  border-radius: 50%;
  width: 40px;
  height: 40px;
  margin-right: 10px;
}

.user-info h5 {
  margin: 0;
}

.user-info small {
  color: #545d7a;
}
Output Till Now
Written by: Piyush Patil
Code Credits: @eyupucmaz
If you have any doubts or any project ideas feel free to Contact Us
Hope you find this post helpful💖