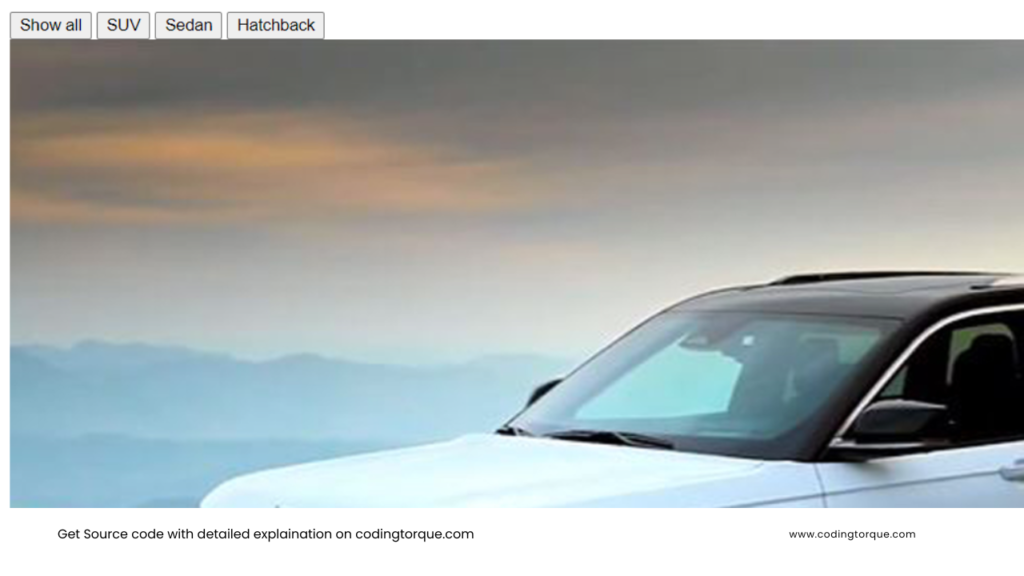
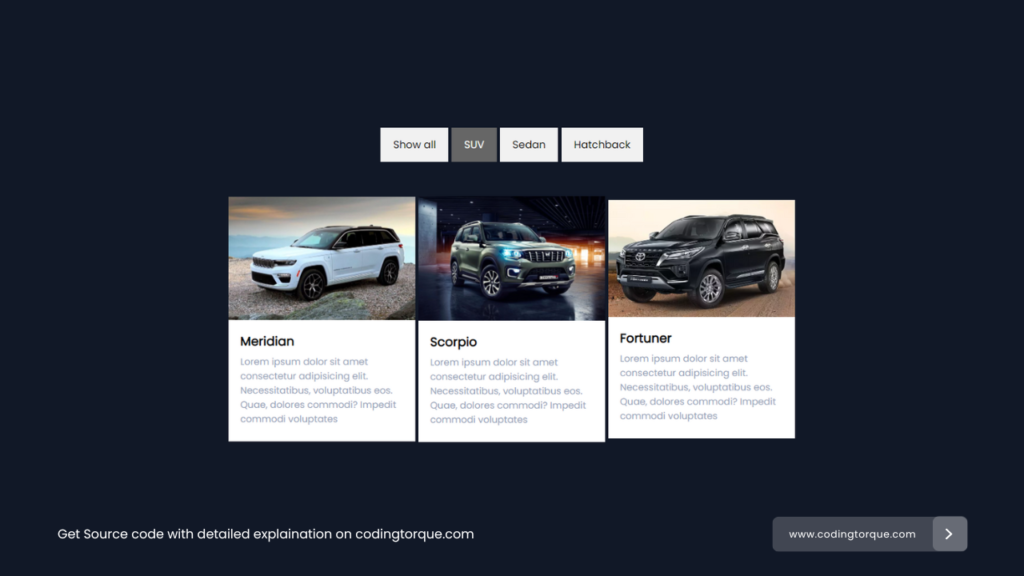
Hello Guys! Welcome to Coding Torque. In this blog, we are going to make filter card tabs using HTML, CSS, and JavaScript. You must create this if you are a beginner and learning HTML and CSS.
Before we start, here are some JavaScript Games you might like to create:
1. Snake Game using JavaScript
2. 2D Bouncing Ball Game using JavaScript
3. Rock Paper Scissor Game using JavaScript
4. Tic Tac Toe Game using JavaScript
5. Whack a Mole Game using JavaScript
I would recommend you don’t just copy and paste the code, just look at the code and type by understanding it.
HTML Code
Starter Template
<!doctype html>
  <html lang="en">

<head>
      <!-- Required meta tags -->
      <meta charset="utf-8">
      <meta name="viewport" content="width=device-width, initial-scale=1">
      <title>Filter Cards using JavaScript - @codingtorque</title>

      <link rel="stylesheet" href="style.css">
      <link href="https://fonts.googleapis.com/css?family=Varela+Round" rel="stylesheet">
</head>

<body>
          <!-- further code in next block -->

          <script src="script.js"></script>
</body>

</html>
Paste the below code in your <body> tag
<!-- Control buttons -->
<div id="myBtnContainer">
    <button class="btn active" onclick="filterSelection('all')"> Show all</button>
    <button class="btn" onclick="filterSelection('suv')"> SUV</button>
    <button class="btn" onclick="filterSelection('sedan')"> Sedan</button>
    <button class="btn" onclick="filterSelection('hatchback')"> Hatchback</button>
</div>

<!-- The filterable elements. Note that some have multiple class names (this can be used if they belong to multiple categories) -->
<div class="container">
    <div class="filterDiv suv">
        <div class="card">
            <img src="../imgs/jeep.jfif" alt="Article">
            <div class="description">
                <h4 class="title">Meridian</h4>
                <p>Lorem ipsum dolor sit amet consectetur adipisicing elit. Necessitatibus, voluptatibus eos. Quae,
                    dolores
                    commodi? Impedit commodi voluptates</p>
            </div>
        </div>
    </div>
    <div class="filterDiv hatchback">
        <div class="card">
            <img src="../imgs/nexon.jpg" alt="Article">
            <div class="description">
                <h4 class="title">Nexon</h4>
                <p>Lorem ipsum dolor sit amet consectetur adipisicing elit. Necessitatibus, voluptatibus eos. Quae,
                    dolores
                    commodi? Impedit commodi voluptates</p>
            </div>
        </div>
    </div>
    <div class="filterDiv sedan">
        <div class="card">
            <img src="../imgs/swift.jfif" alt="Article">
            <div class="description">
                <h4 class="title">Swift</h4>
                <p>Lorem ipsum dolor sit amet consectetur adipisicing elit. Necessitatibus, voluptatibus eos. Quae,
                    dolores
                    commodi? Impedit commodi voluptates</p>
            </div>
        </div>
    </div>
    <div class="filterDiv suv">
        <div class="card">
            <img src="../imgs/scorpio.jpg" alt="Article">
            <div class="description">
                <h4 class="title">Scorpio</h4>
                <p>Lorem ipsum dolor sit amet consectetur adipisicing elit. Necessitatibus, voluptatibus eos. Quae,
                    dolores
                    commodi? Impedit commodi voluptates</p>
            </div>
        </div>
    </div>
    <div class="filterDiv suv">
        <div class="card">
            <img src="../imgs/fortuner.webp" alt="Article">
            <div class="description">
                <h4 class="title">Fortuner</h4>
                <p>Lorem ipsum dolor sit amet consectetur adipisicing elit. Necessitatibus, voluptatibus eos. Quae,
                    dolores
                    commodi? Impedit commodi voluptates</p>
            </div>
        </div>
    </div>
</div>
Output Till Now

CSS Code
Create a file style.css and paste the code below.
* {
    font-family: 'Poppins', sans-serif;
}

body {
    background-color: #111827;
    color: white;
    display: flex;
    flex-direction: column;
    align-items: center;
    justify-content: center;
    padding-top: 10rem;
}

.container {
    overflow: hidden;
}

.filterDiv {
    float: left;
    margin: 2px;
    display: none;
}

/* The "show" class is added to the filtered elements */
.show {
    display: block;
}

/* Style the buttons */
.btn {
    border: none;
    outline: none;
    padding: 12px 16px;
    background-color: #f1f1f1;
    cursor: pointer;
}

/* Add a light grey background on mouse-over */
.btn:hover {
    background-color: #ddd;
}

/* Add a dark background to the active button */
.btn.active {
    background-color: #666;
    color: white;
}

.card {
    border-radius: 10px;
    height: 25rem;
    width: 15rem;
    display: flex;
    align-items: center;
    justify-content: center;
    flex-direction: column;
    overflow: hidden;
    position: relative;
}

.card svg {
    position: absolute;
    left: 0;
    top: 120px;
}

.card img {
    width: 100%;
}

.description {
    padding: 15px;
    background: white;
    color: black;
}

.title {
    font-size: 1rem;
    margin: 0;
}

.description p {
    font-size: 12px;
    margin: 5px 0;
    color: #94a3b8;
}
Output Till Now

JavaScript Code
Create a file
script.js and paste the code below.filterSelection("all")
function filterSelection(c) {
var x, i;
x = document.getElementsByClassName("filterDiv");
if (c == "all") c = "";
// Add the "show" class (display:block) to the filtered elements, and remove the "show" class from the elements that are not selected
for (i = 0; i < x.length; i++) {
w3RemoveClass(x[i], "show");
if (x[i].className.indexOf(c) > -1) w3AddClass(x[i], "show");
}
}
// Show filtered elements
function w3AddClass(element, name) {
var i, arr1, arr2;
arr1 = element.className.split(" ");
arr2 = name.split(" ");
for (i = 0; i < arr2.length; i++) {
if (arr1.indexOf(arr2[i]) == -1) {
element.className += " " + arr2[i];
}
}
}
// Hide elements that are not selected
function w3RemoveClass(element, name) {
var i, arr1, arr2;
arr1 = element.className.split(" ");
arr2 = name.split(" ");
for (i = 0; i < arr2.length; i++) {
while (arr1.indexOf(arr2[i]) > -1) {
arr1.splice(arr1.indexOf(arr2[i]), 1);
}
}
element.className = arr1.join(" ");
}
// Add active class to the current control button (highlight it)
var btnContainer = document.getElementById("myBtnContainer");
var btns = btnContainer.getElementsByClassName("btn");
for (var i = 0; i < btns.length; i++) {
btns[i].addEventListener("click", function () {
var current = document.getElementsByClassName("active");
current[0].className = current[0].className.replace(" active", "");
this.className += " active";
});
}
Written by: Piyush Patil
If you have any doubts or any project ideas feel free to Contact Us
Hope you find this post helpful💖


