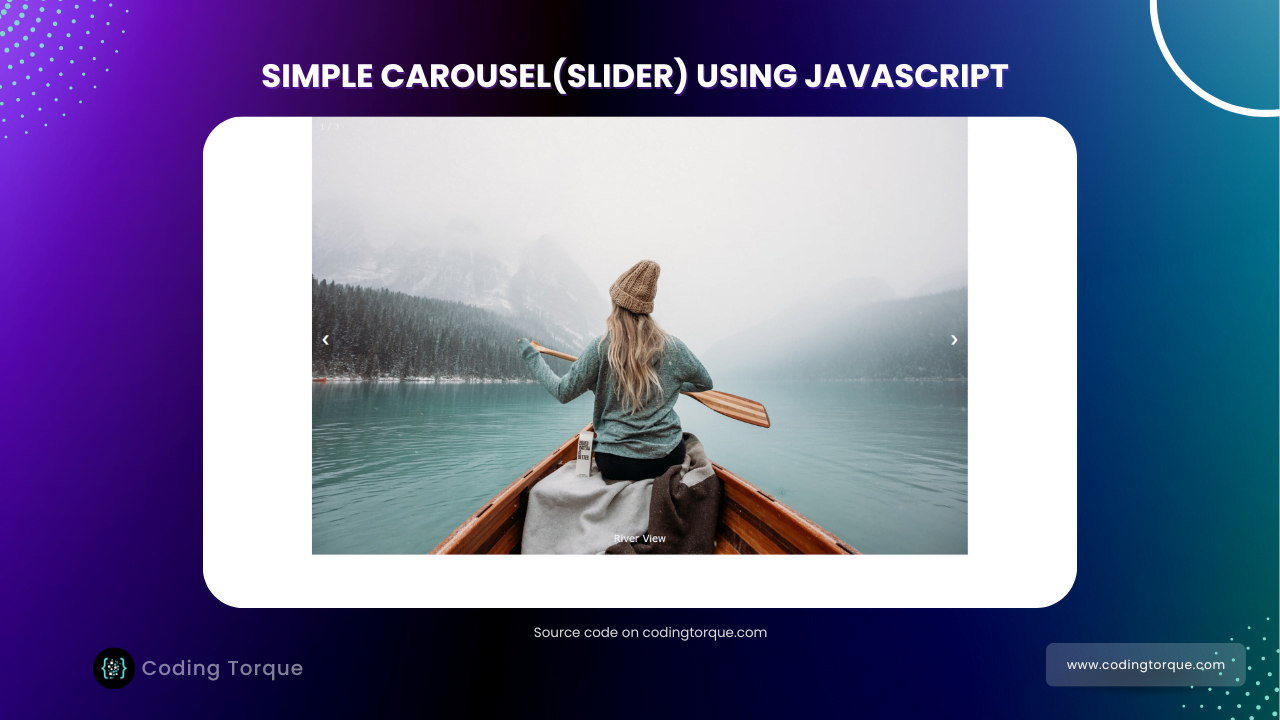
Hello Guys! Welcome to Coding Torque. In this blog, I’m going to explain to you how to make a Simple Carousel(Slider) using HTML CSS, and JavaScript. You must create this project if you are a beginner or intermediate-level programmer. Let’s get started 🚀.
Before we start, here are some JavaScript Games you might like to create:
1. Snake Game using JavaScript
2. 2D Bouncing Ball Game using JavaScript
3. Rock Paper Scissor Game using JavaScript
4. Tic Tac Toe Game using JavaScript
5. Whack a Mole Game using JavaScript
I would recommend you don’t just copy and paste the code, just look at the code and type by understanding it.
HTML Code
Starter Template
<!doctype html>
<html lang="en">

<head>
    <!-- Required meta tags -->
    <meta charset="utf-8">
    <meta name="viewport" content="width=device-width, initial-scale=1">
    <title>Simple Carousel using HTML CSS and JavaScript - @codingtorque</title>
</head>
<body>
    <!-- Further code here -->
</body>
</html>
Paste the below code in your <body> tag
<div class="slideshow-container">
    <div class="mySlides fade">
        <div class="numbertext">1 / 3</div>
        <img src="../imgs/sea.jpg" style="width:100%">
        <div class="text">River View</div>
    </div>
    <div class="mySlides fade">
        <div class="numbertext">2 / 3</div>
        <img src="../imgs/work.jpg" style="width:100%">
        <div class="text">Work</div>
    </div>
    <div class="mySlides fade">
        <div class="numbertext">3 / 3</div>
        <img src="../imgs/desk.jpg" style="width:100%">
        <div class="text">Productivity</div>
    </div>
    <a class="prev" onclick="plusSlides(-1)">❮</a>
    <a class="next" onclick="plusSlides(1)">❯</a>
</div>
Output Till Now
CSS Code
Create a file style.css and paste the code below.
* {
    box-sizing: border-box
}

body {
    font-family: Verdana, sans-serif;
    margin: 0
}

.mySlides {
    display: none
}

img {
    vertical-align: middle;
}

/* Slideshow container */
.slideshow-container {
    max-width: 1000px;
    position: relative;
    margin: auto;
}

/* Next & previous buttons */
.prev,
.next {
    cursor: pointer;
    position: absolute;
    top: 50%;
    width: auto;
    padding: 16px;
    margin-top: -22px;
    color: white;
    font-weight: bold;
    font-size: 18px;
    transition: 0.6s ease;
    border-radius: 0 3px 3px 0;
    user-select: none;
}

/* Position the "next button" to the right */
.next {
    right: 0;
    border-radius: 3px 0 0 3px;
}

/* On hover, add a black background color with a little bit see-through */
.prev:hover,
.next:hover {
    background-color: rgba(0, 0, 0, 0.8);
}

/* Caption text */
.text {
    color: #f2f2f2;
    font-size: 15px;
    padding: 8px 12px;
    position: absolute;
    bottom: 8px;
    width: 100%;
    text-align: center;
}

/* Number text (1/3 etc) */
.numbertext {
    color: #f2f2f2;
    font-size: 12px;
    padding: 8px 12px;
    position: absolute;
    top: 0;
}

/* The dots/bullets/indicators */
.dot {
    cursor: pointer;
    height: 15px;
    width: 15px;
    margin: 0 2px;
    background-color: #bbb;
    border-radius: 50%;
    display: inline-block;
    transition: background-color 0.6s ease;
}

.active,
.dot:hover {
    background-color: #717171;
}

/* Fading animation */
.fade {
    animation-name: fade;
    animation-duration: 1.5s;
}

@keyframes fade {
    from {
        opacity: .4
    }

    to {
        opacity: 1
    }
}

/* On smaller screens, decrease text size */
@media only screen and (max-width: 300px) {

    .prev,
    .next,
    .text {
        font-size: 11px
    }
}
Output Till Now

JavaScript Code
Create a file
script.js and paste the code below.let slideIndex = 1;
showSlides(slideIndex);
function plusSlides(n) {
showSlides(slideIndex += n);
}
function currentSlide(n) {
showSlides(slideIndex = n);
}
function showSlides(n) {
let i;
let slides = document.getElementsByClassName("mySlides");
let dots = document.getElementsByClassName("dot");
if (n > slides.length) { slideIndex = 1 }
if (n < 1) { slideIndex = slides.length }
for (i = 0; i < slides.length; i++) {
slides[i].style.display = "none";
}
for (i = 0; i < dots.length; i++) {
dots[i].className = dots[i].className.replace(" active", "");
}
slides[slideIndex - 1].style.display = "block";
dots[slideIndex - 1].className += " active";
}
Written by: Piyush Patil
Code Credits (Inspiration): @W3Schools
If you have any doubts or any project ideas feel free to Contact Us
Hope you find this post helpful💖